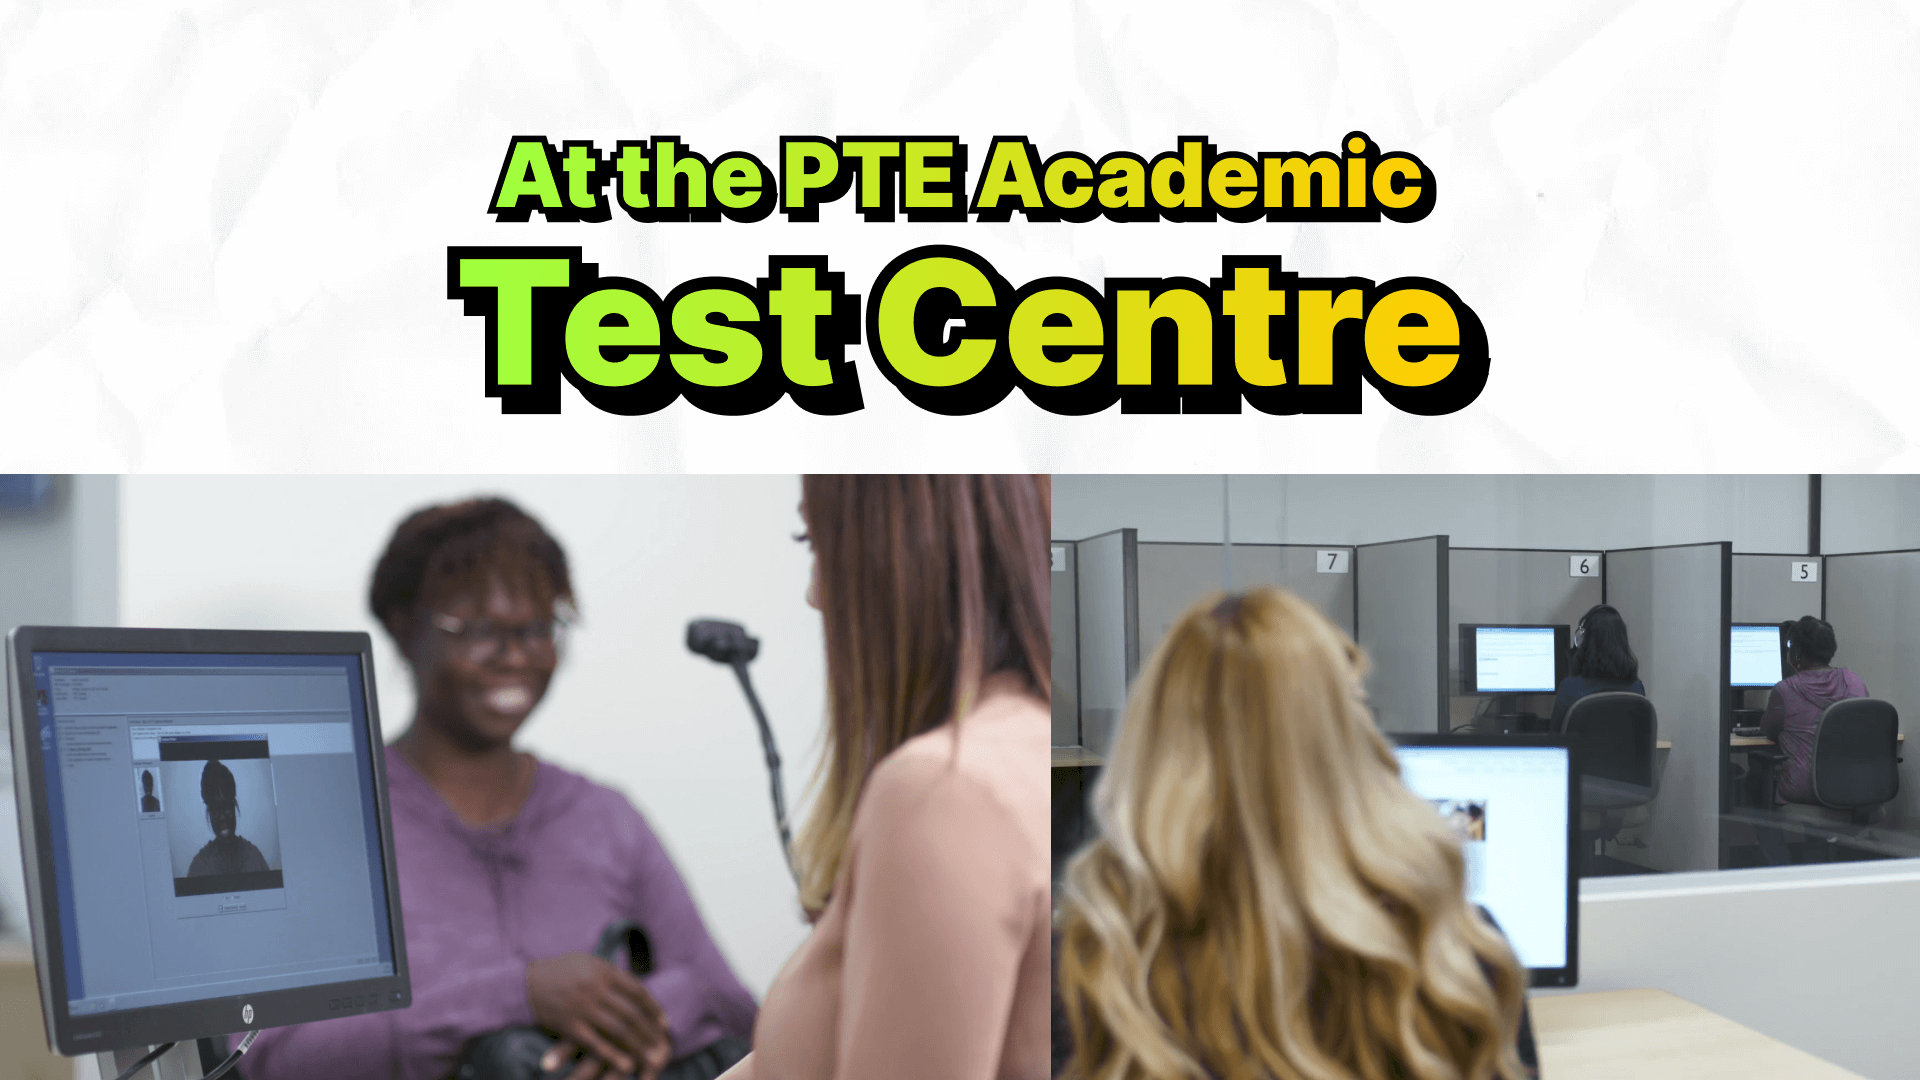
For many, the day of the PTE Academic exam is the culmination of weeks, if not months, of dedicated preparation. While you may have mastered the art of the ‘Describe Image’ and ‘Re-tell Lecture’ tasks, the experience within the test centre itself can be a source of anxiety. What are the rules? What can you bring? What is a palm vein scan?
This comprehensive guide will walk you through every step of your PTE Academic exam day at a Pearson VUE test centre. Based on the official procedures, this blog will demystify the process, ensuring you can walk in with confidence, ready to perform at your best.
Before You Even Leave Home: The Preparation Checklist
Your exam day success starts before you even step out the door. A calm and organised morning can set a positive tone for the entire experience.
The Golden Rule: Arrive Early
Every official piece of advice from Pearson VUE emphasises this point: arrive at least 30 minutes before your scheduled appointment. This is not a suggestion; it’s a critical instruction. Arriving late can mean you forfeit your test slot and your fee. The 30-minute buffer is designed to give you ample time to navigate the comprehensive check-in and security procedures without feeling rushed.
Packing Your Essentials: The Power of One
When it comes to what you should bring, the list is surprisingly short.
- Your ID: For most international students, this means your valid, physical passport. The name on your passport must exactly match the name you used to register for the PTE Academic exam.
- Confirmation Email (Optional but Recommended): While not always required, having a printed or digital copy of your confirmation email can be helpful for your own peace of mind.
That’s it. Everything else should be left at home or in your car.
The Arrival: Entering the Pearson VUE Test Centre
Upon entering the test centre, you will be greeted by a Test Administrator (TA). This person will be your guide for the pre-test process. They are there to ensure the rules are followed and to help you if you have any questions.
Step 1: The Initial Check-In
The first thing the TA will do is confirm your appointment and the exam you are taking (PTE Academic). You will then be asked to read and agree to the Pearson VUE Candidate Rules Agreement. This document outlines the rules and regulations of the test environment. Take a moment to read it carefully. By agreeing to it, you are committing to a fair and secure testing experience for everyone.
The Core of Security: The Admissions Process
Pearson VUE places a huge emphasis on security to protect the integrity of the PTE Academic exam. This multi-step process ensures that every test-taker is who they say they are.
Step 2: Identification Verification
This is the most crucial step. You will present your passport to the TA. They will carefully inspect it to ensure it is valid and that the photo and name match you and your registration details.
Pro Tip: Double-check your passport’s expiry date and your registration name weeks before your exam to avoid any last-minute panic.
Step 3: The Digital Footprint
Next, you’ll provide a series of digital authentications:
- Digital Signature: You will be asked to sign your name on a digital signature pad. The TA will compare this signature to the one on your passport.
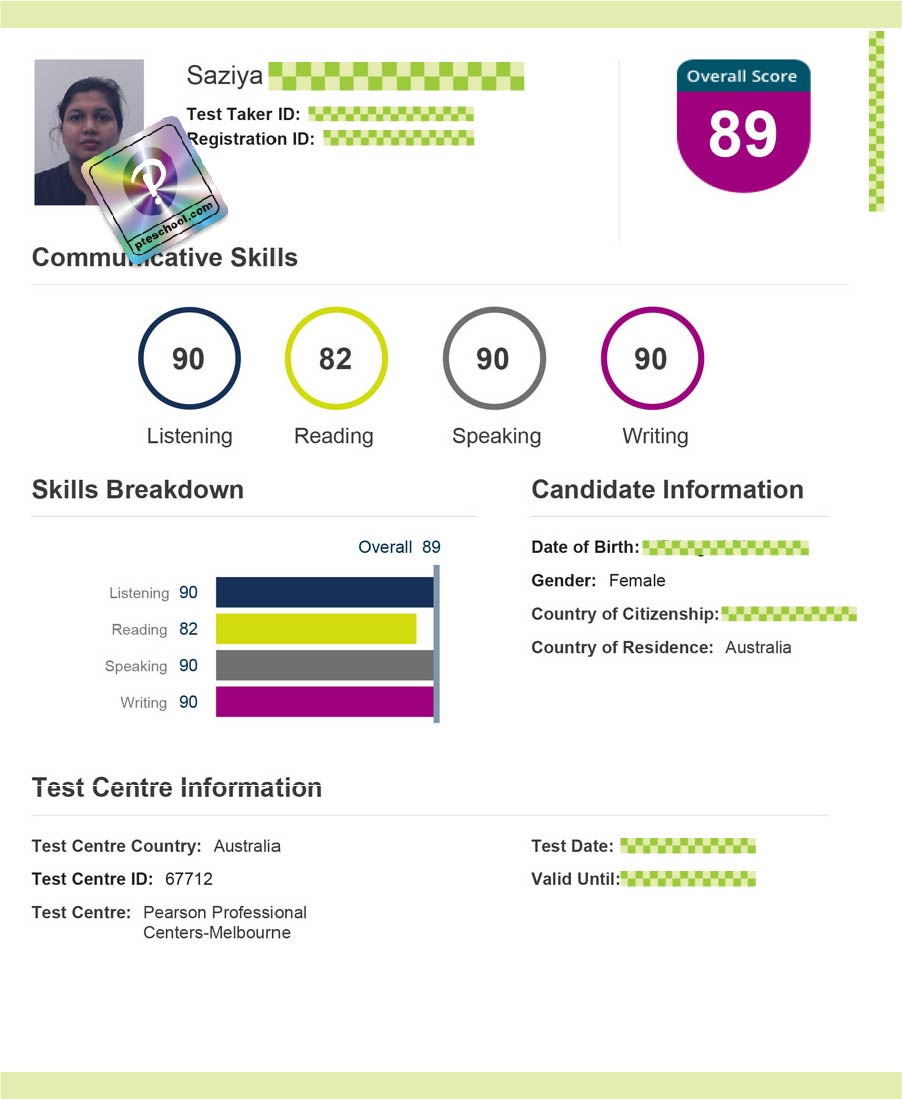
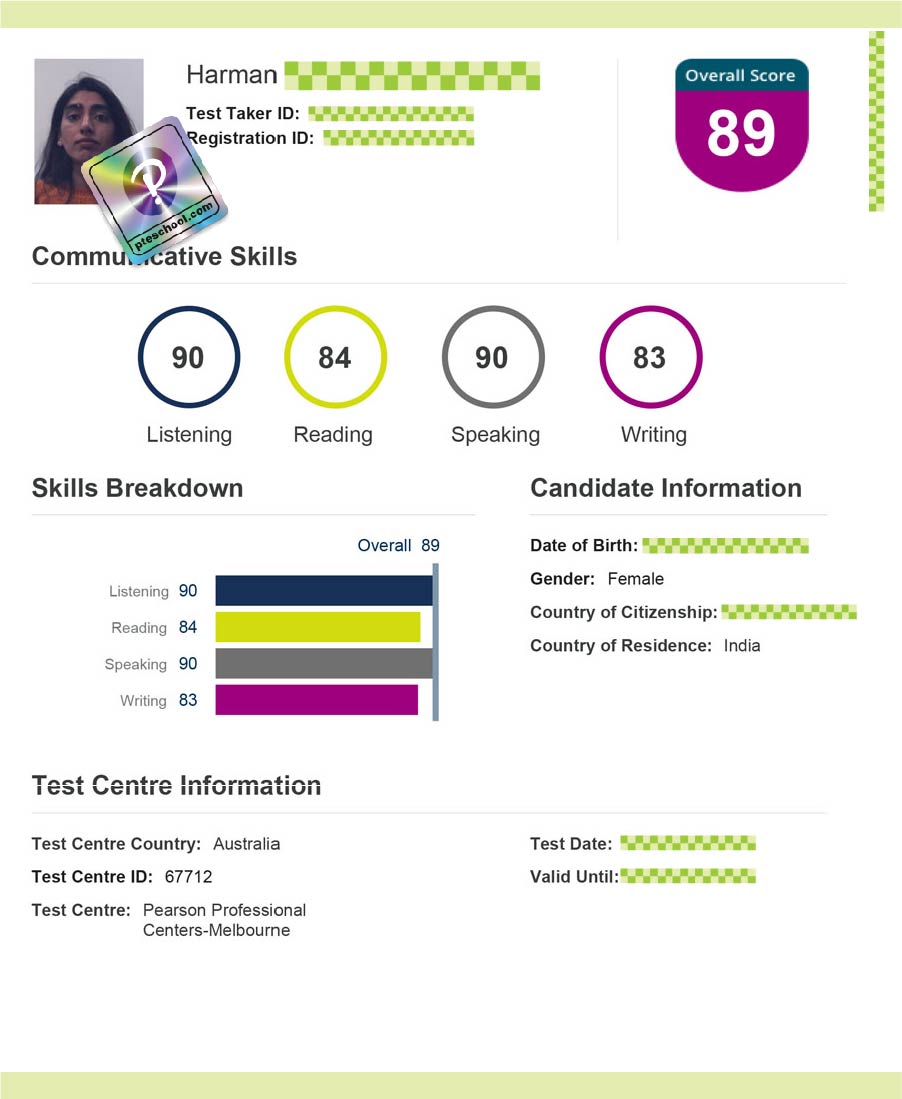
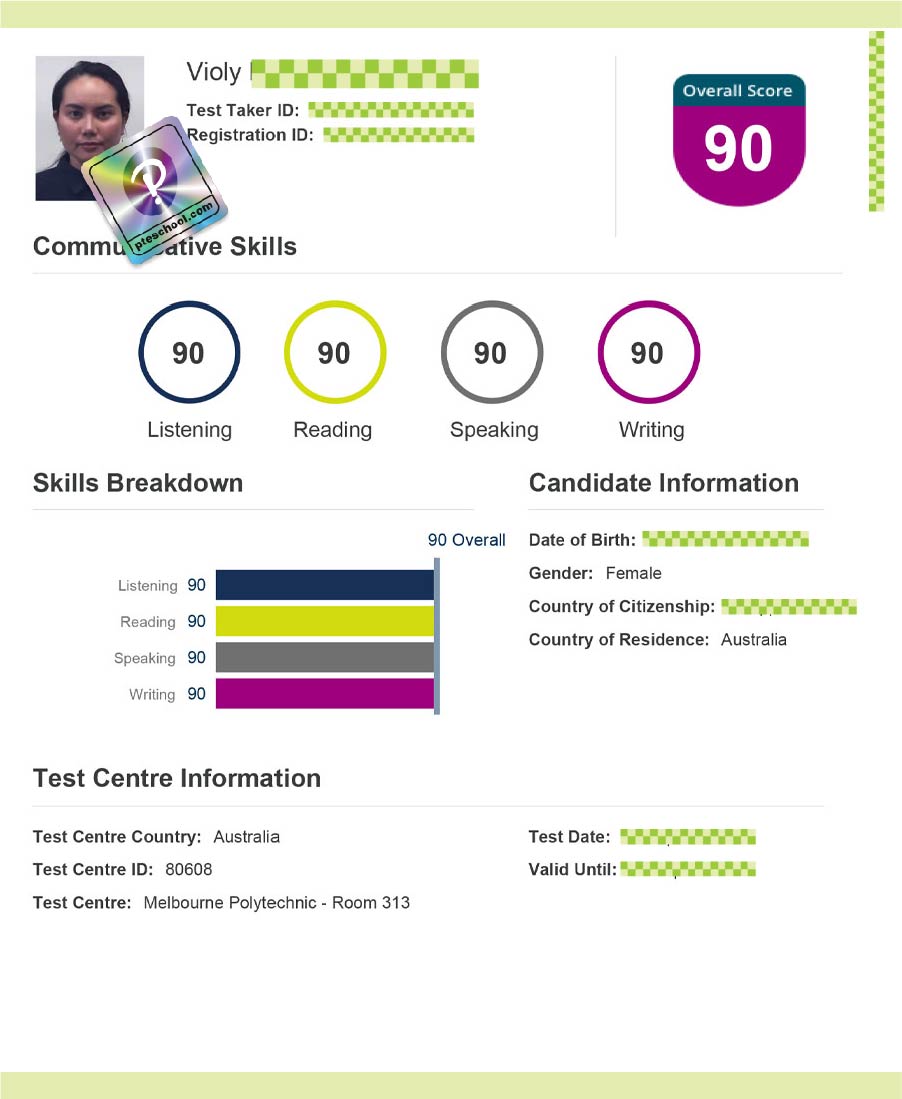
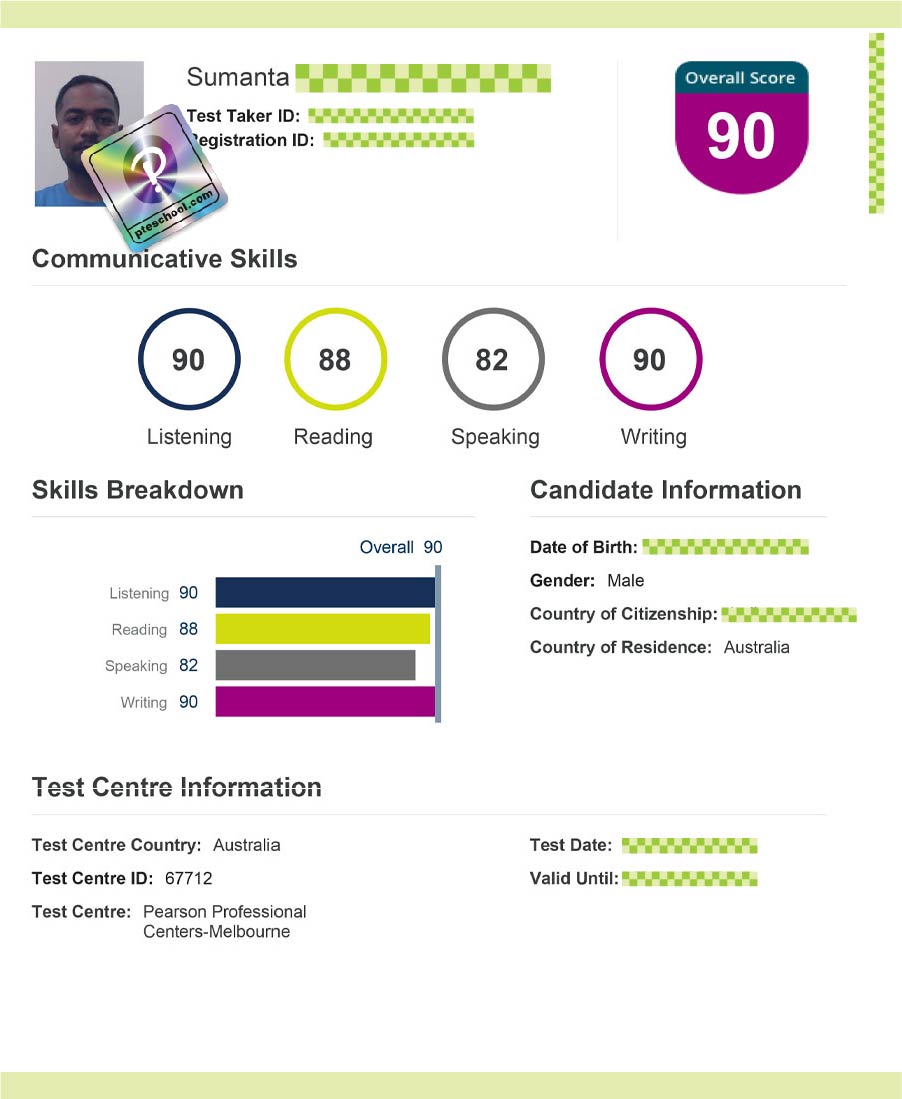
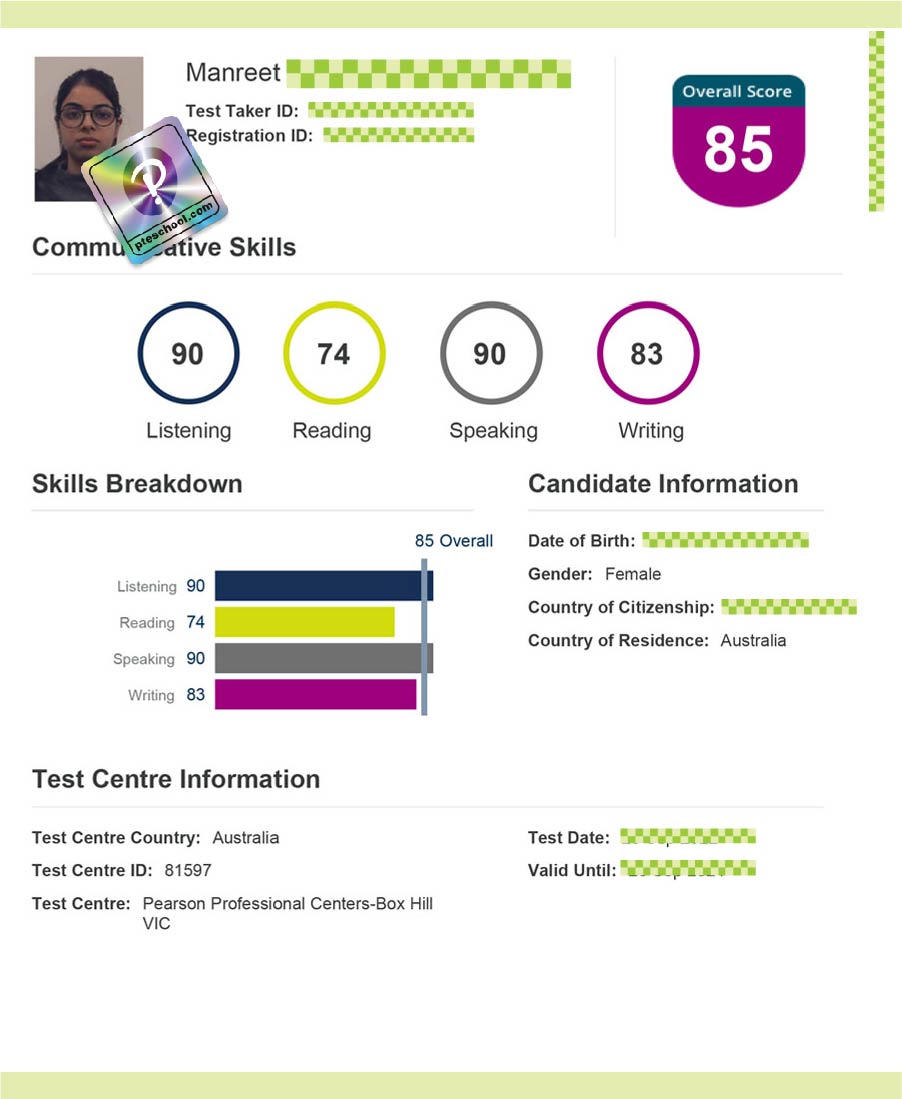
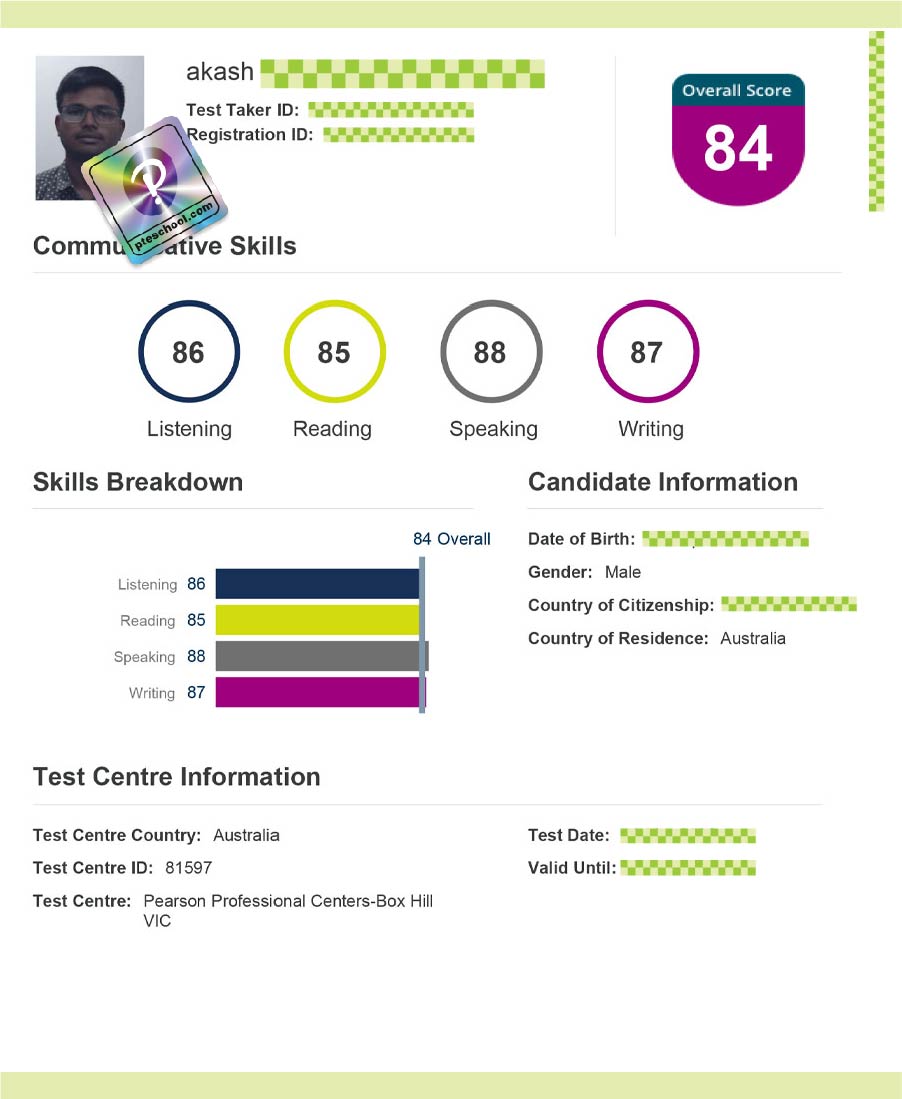
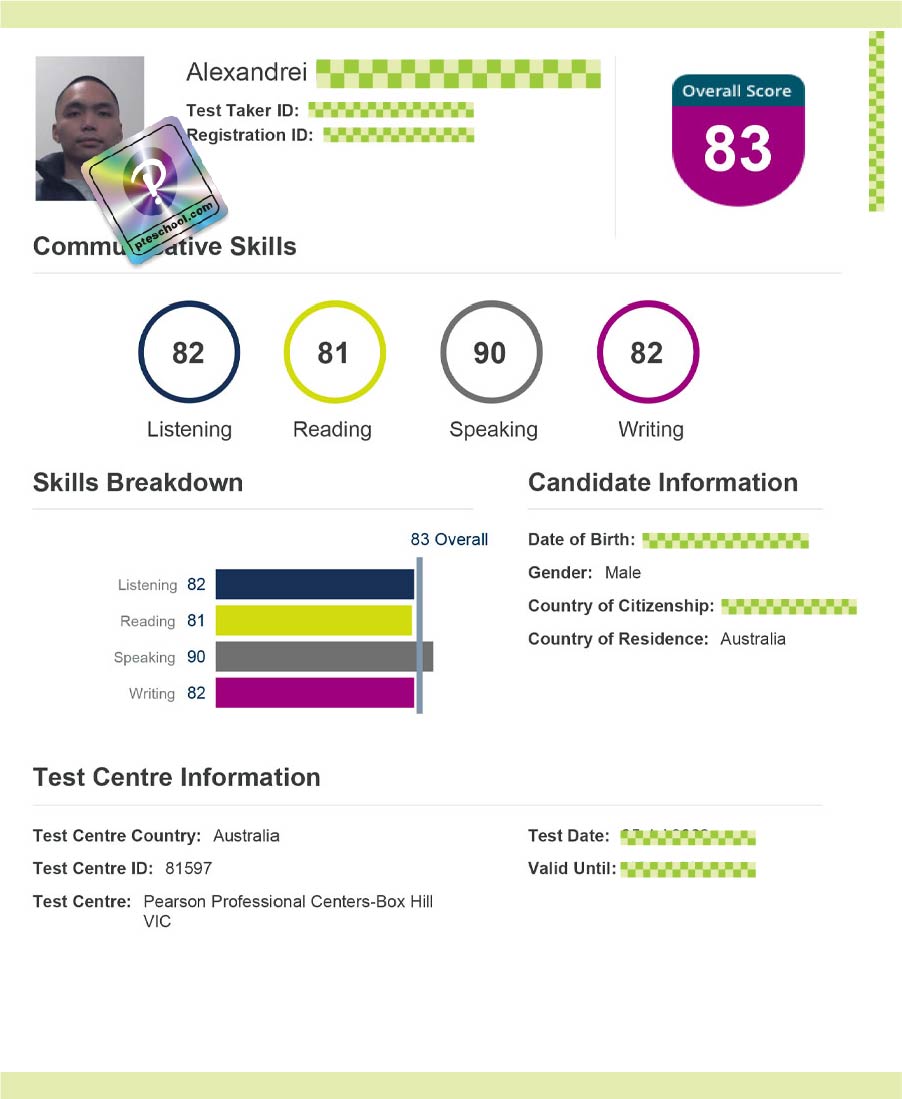
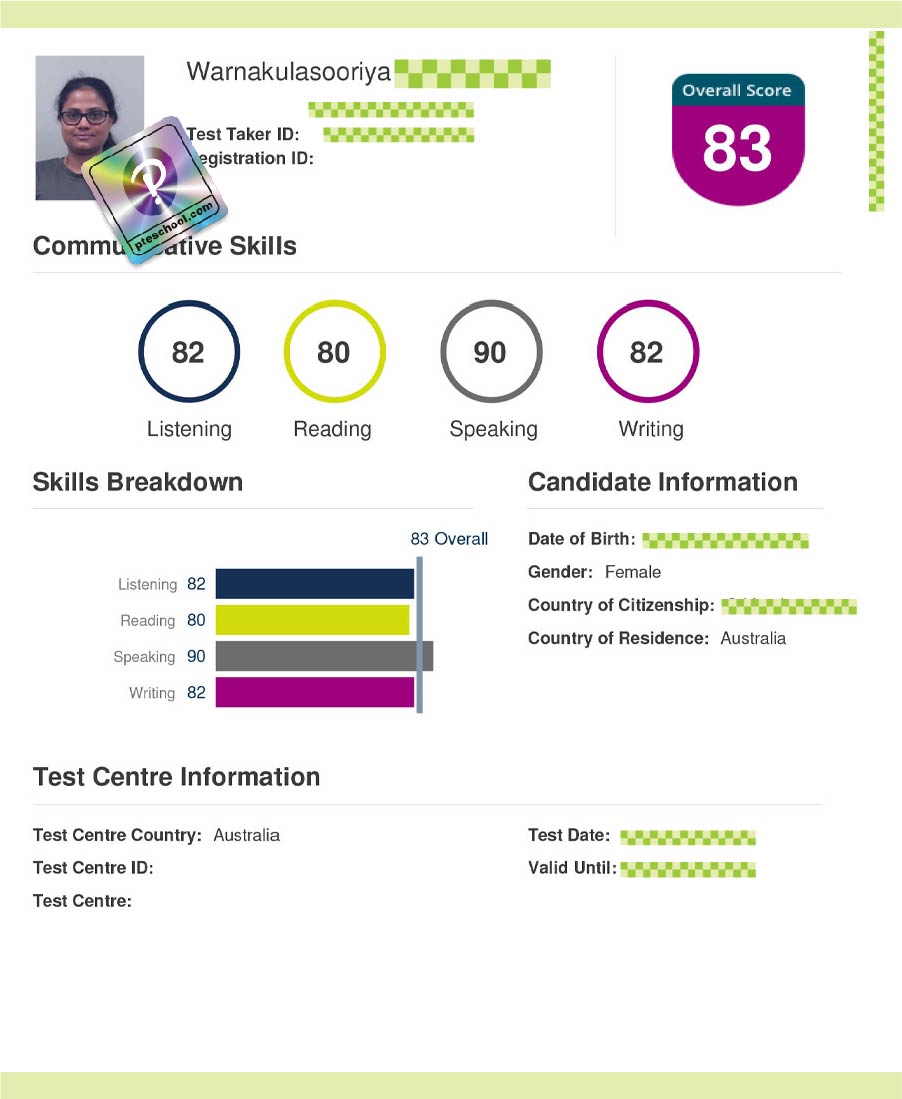
- Digital Photograph: A photo of you will be taken. This photo will be part of your official score report that you send to institutions.
- Palm Vein Scan: This is a high-tech biometric security measure. You will be asked to place your hand on a small scanner. The device uses a near-infrared light to scan the unique pattern of veins in your palm. This pattern is converted into a digital template and linked to your profile. It’s a highly accurate and non-invasive way to prevent identity fraud. You will need to scan your palm every time you enter or exit the testing room.
Step 4: Securing Your Personal Belongings
You are not allowed to take any personal items into the testing room. You will be assigned a secure locker to store everything. This includes:
- All electronic devices: Phones, smartwatches, fitness trackers, etc. (must be switched off).
- Wallets and purses.
- Watches (even analogue ones).
- Keys.
- Hats, coats, scarves, and gloves.
- Books, notes, or any study materials.
- Food, drink, or chewing gum.
- Jewellery that is thicker than 1/4 inch (0.5 cm).
Once your items are in the locker, you will not be able to access them until your exam is completely finished.
Step 5: The Physical Security Check
This is the final check before you enter the testing room. A proctor will ask you to:
- Pull back your hair to show there are no hidden electronic devices.
- Lift your tie or the hood of a sweatshirt.
- Turn out all your pockets to show they are empty.
- Roll up your sleeves to show there is no writing on your arms.
- Remove your glasses for a visual inspection.
This process is conducted professionally and respectfully. It is a standard procedure for all test-takers to ensure a fair environment.
Inside the Testing Room: The Exam Experience
Once you have cleared the security checks, the TA will escort you to your assigned computer workstation.
Your Testing Station
You will be seated in a partitioned booth. While you will be able to hear other test-takers speaking, remember that everyone is working on a slightly different version of the exam. Your workstation will include:
- A desktop computer.
- A QWERTY keyboard.
- A mouse.
- A headset with a microphone.
- An erasable noteboard and pen for taking notes.
Before you begin, take a moment to test your headset and microphone to ensure they are working correctly. If you encounter any technical issues, raise your hand immediately for assistance.
During the Exam
Once the exam launches, you will be monitored by the proctor and recorded by both audio and video. This is standard procedure.
- Focus on Your Screen: The two-hour PTE Academic exam is intense. Stay focused on your own screen and your own questions.
- Scheduled Breaks: The PTE Academic includes one optional 10-minute break after the Reading section. If you choose to take it, raise your hand. You will be escorted out of the room. You will need to go through the palm vein scan to exit and re-enter.
- Unscheduled Breaks: If you need to take an unscheduled break (e.g., to use the restroom), you can, but the exam timer will not stop. Raise your hand for assistance.
Finishing the Exam and What Comes Next
Ending Your Test
When you have completed the final question, raise your hand. The proctor will come and officially end your session and then escort you out of the testing room. You will need to return the erasable noteboard.
Collecting Your Belongings
After exiting the testing room, you can retrieve your personal items from your locker. Your exam day experience at the centre is now complete.
Receiving Your Score
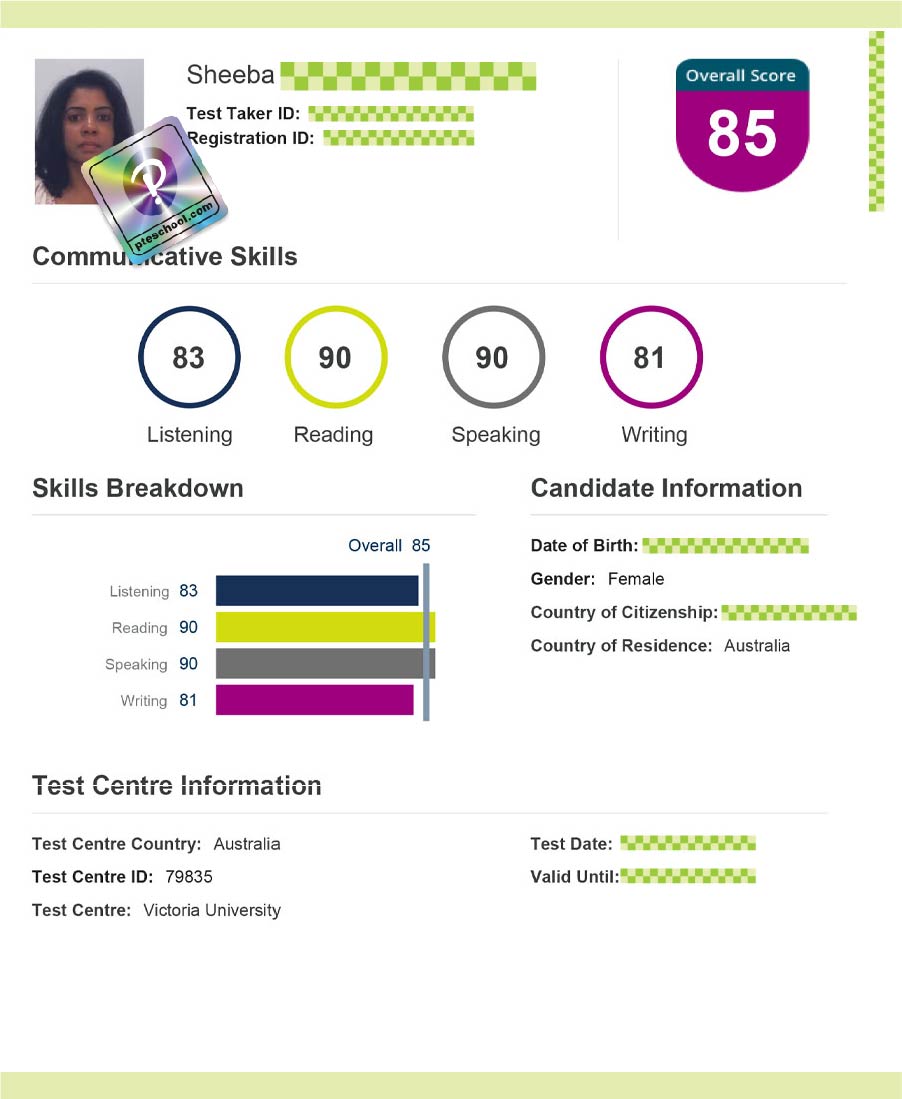
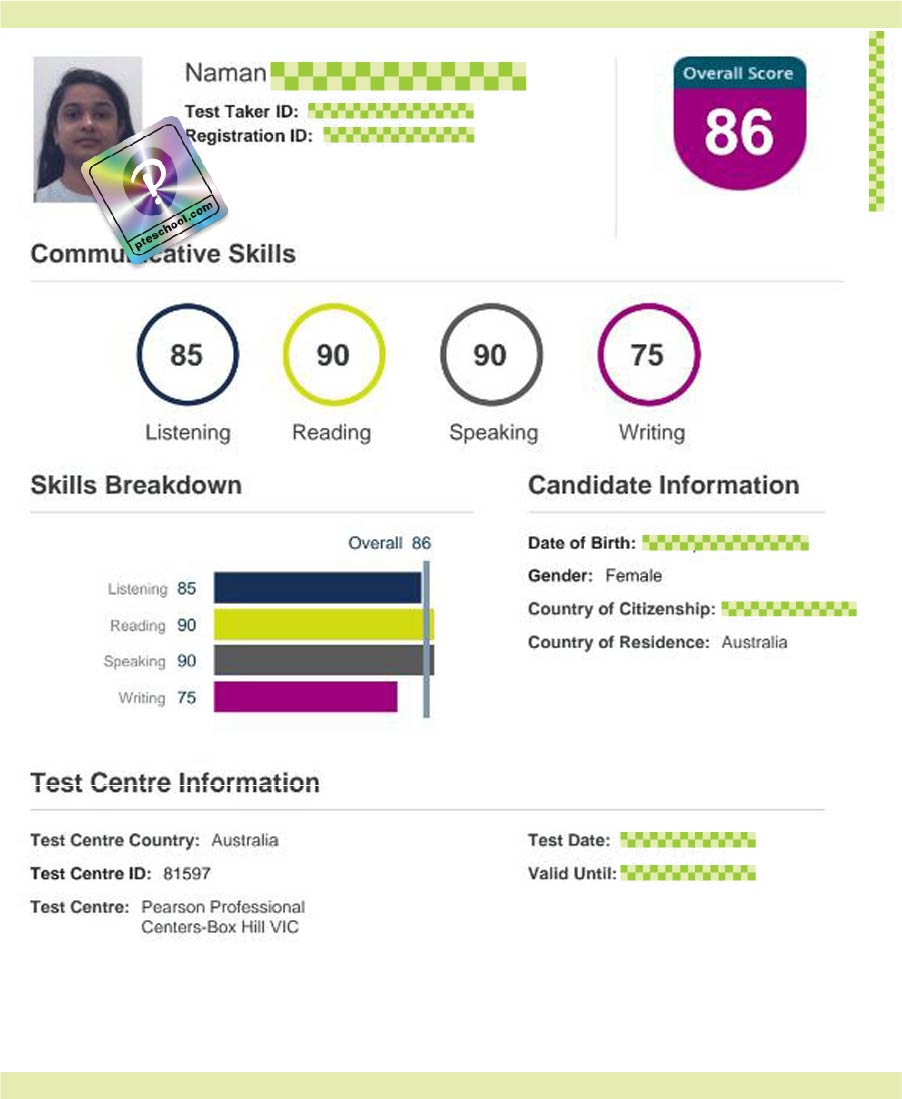
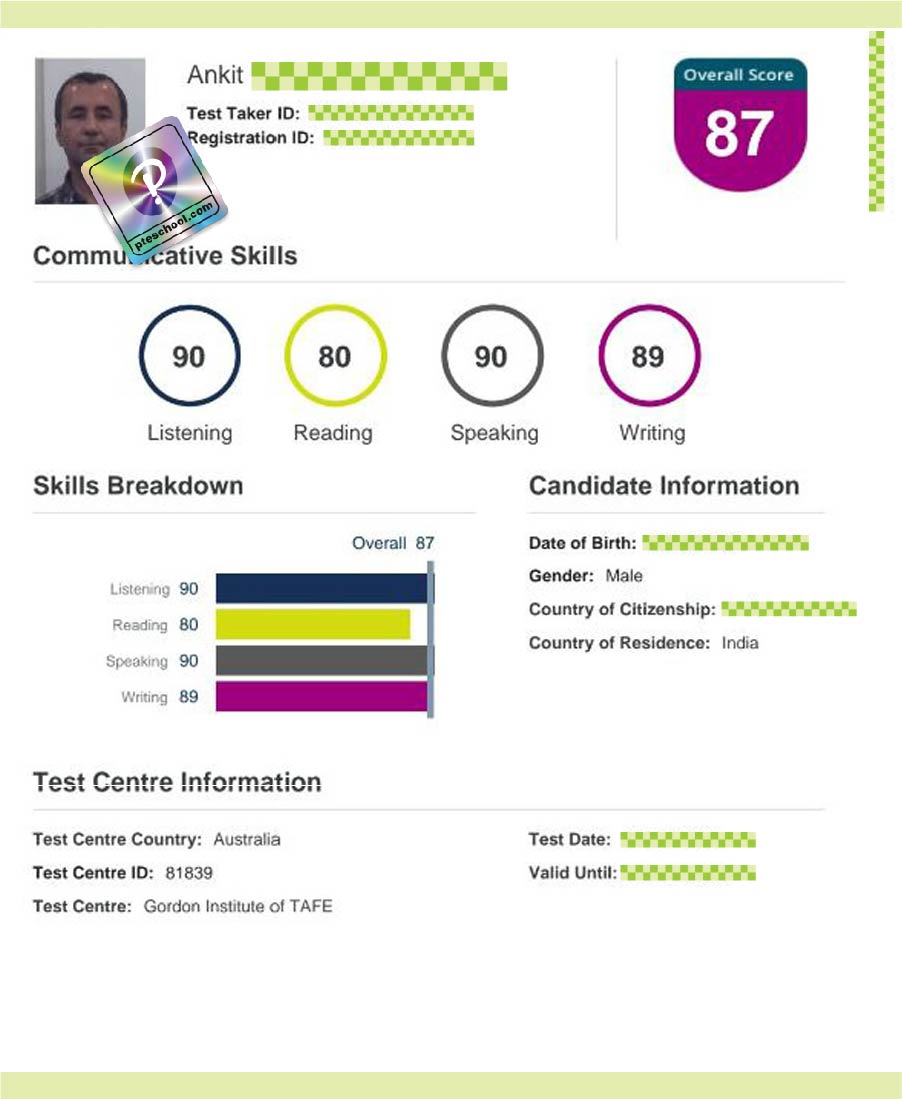
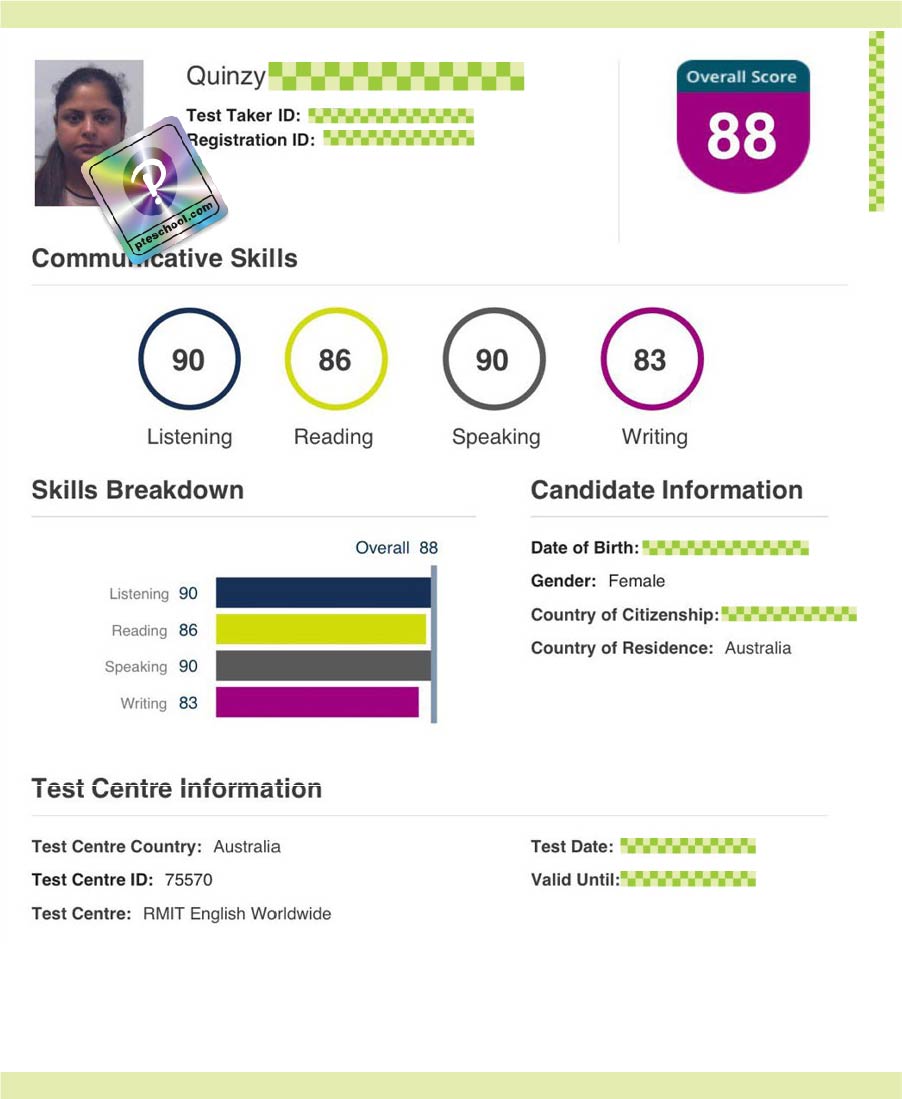
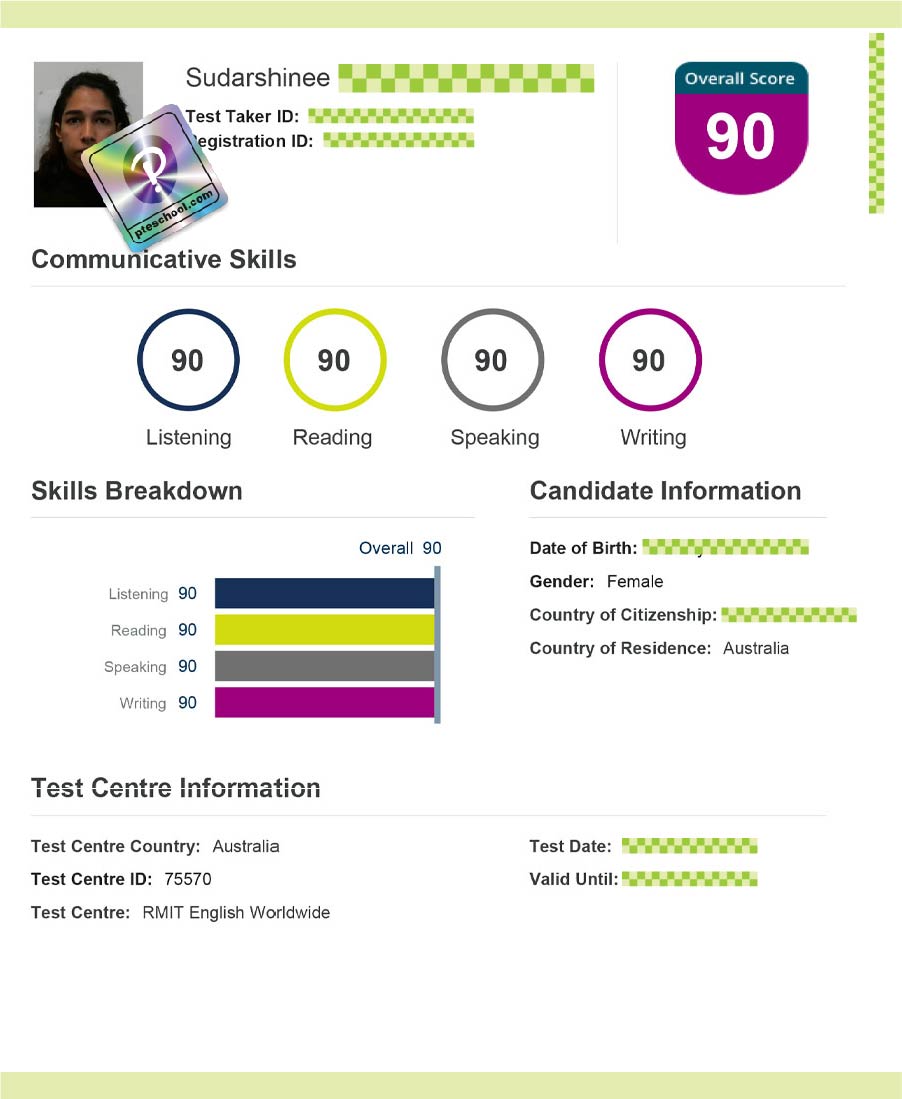
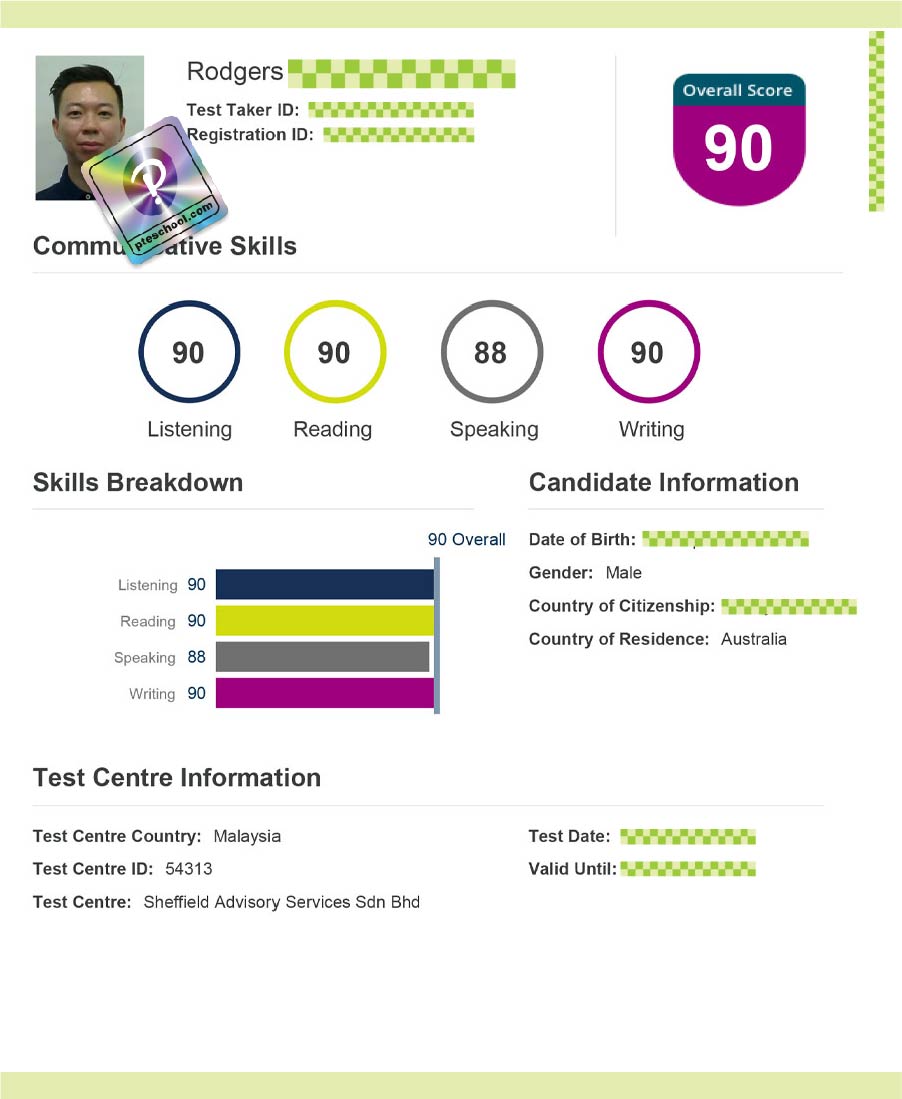
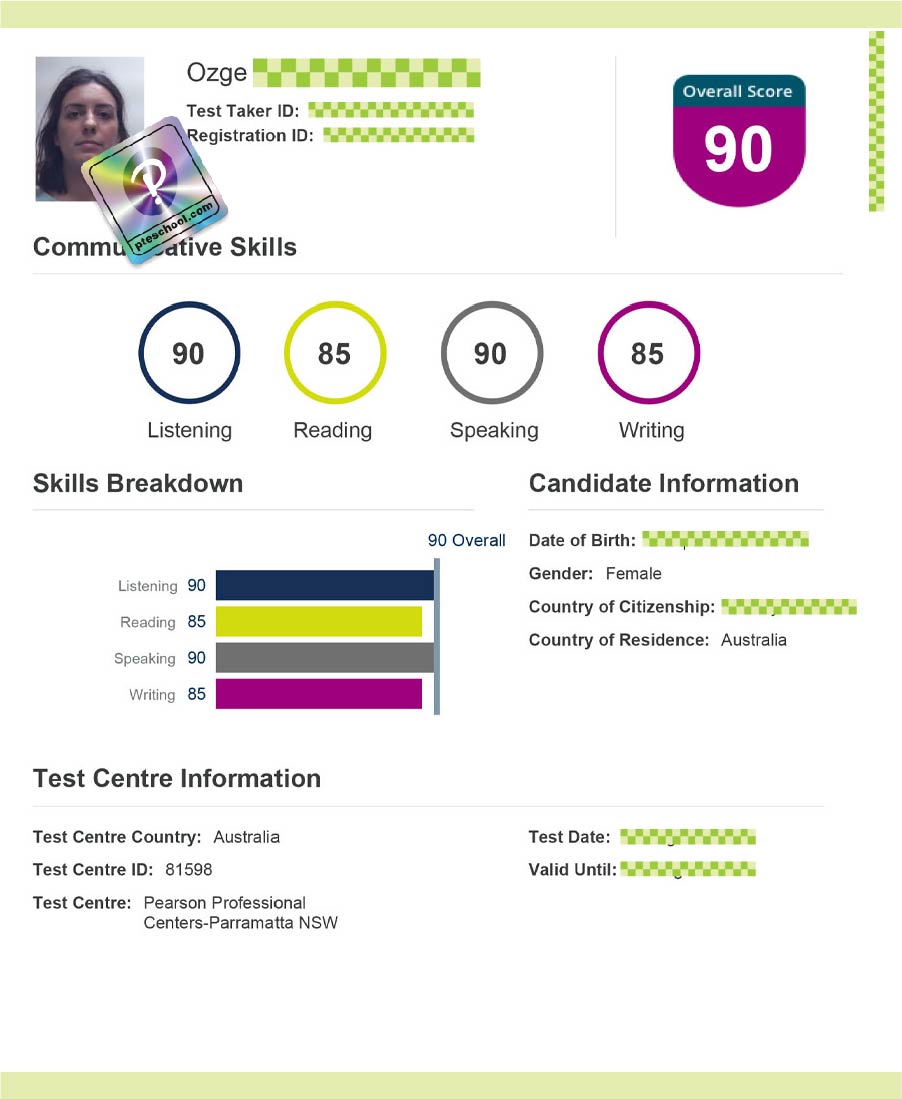
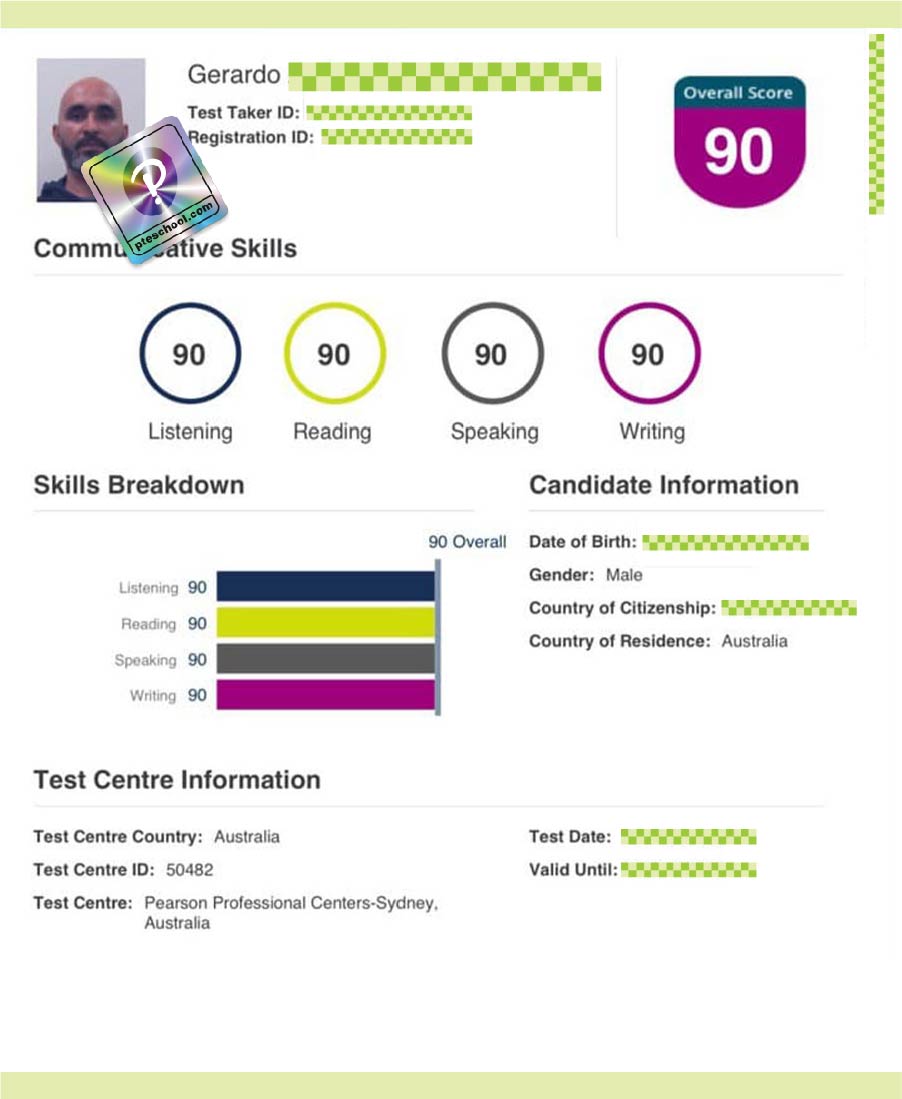
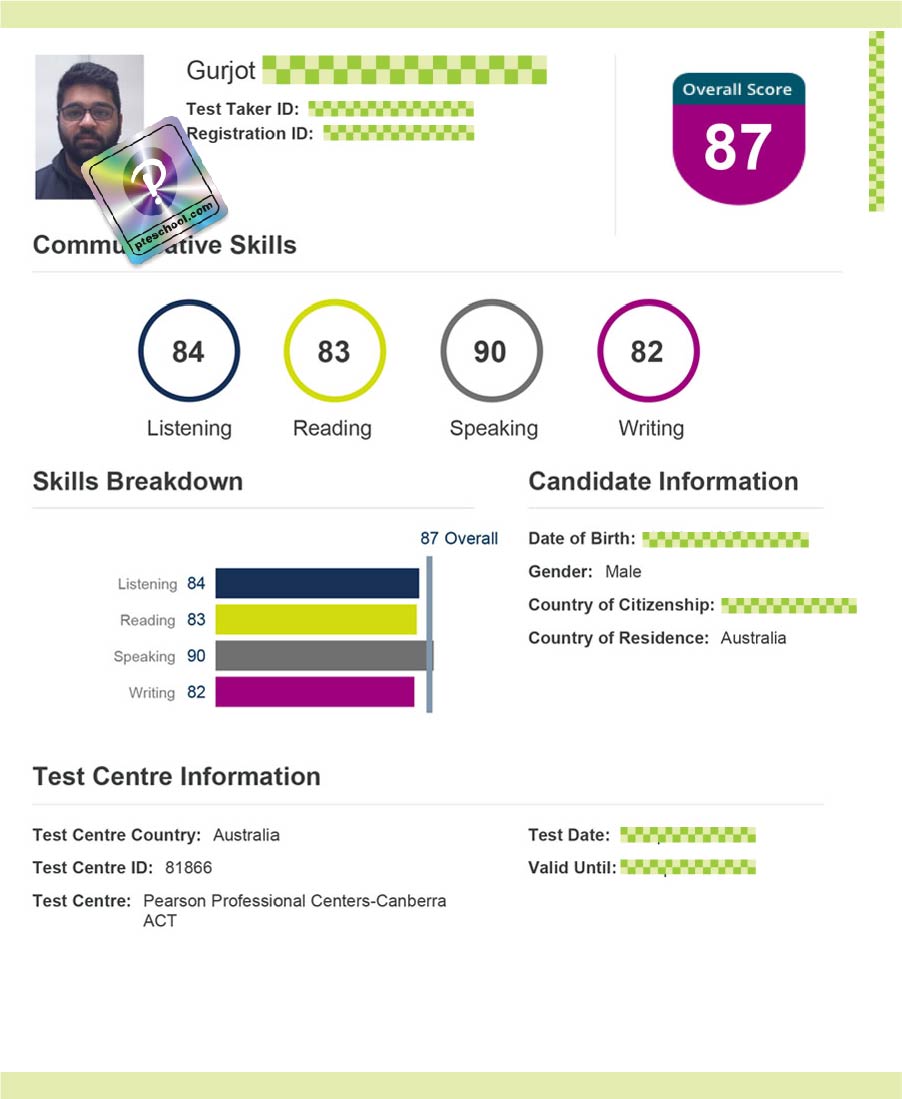
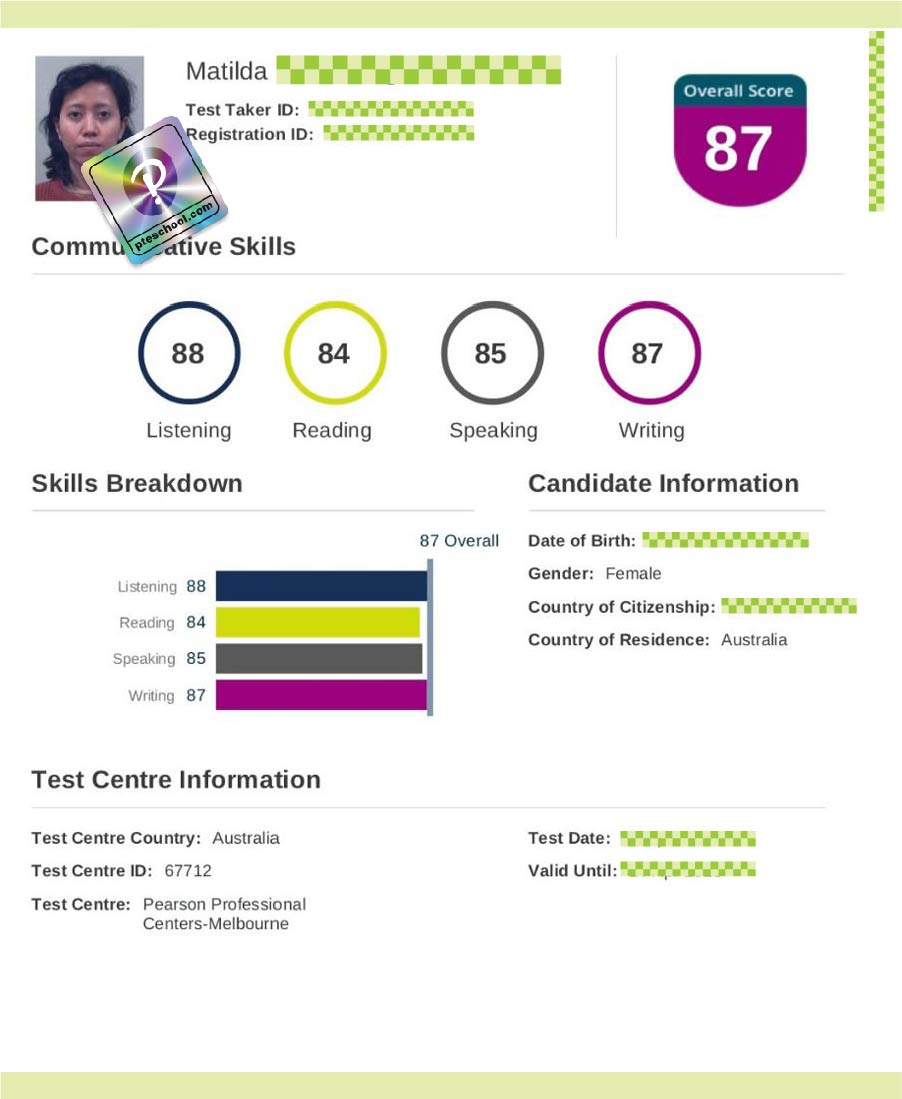
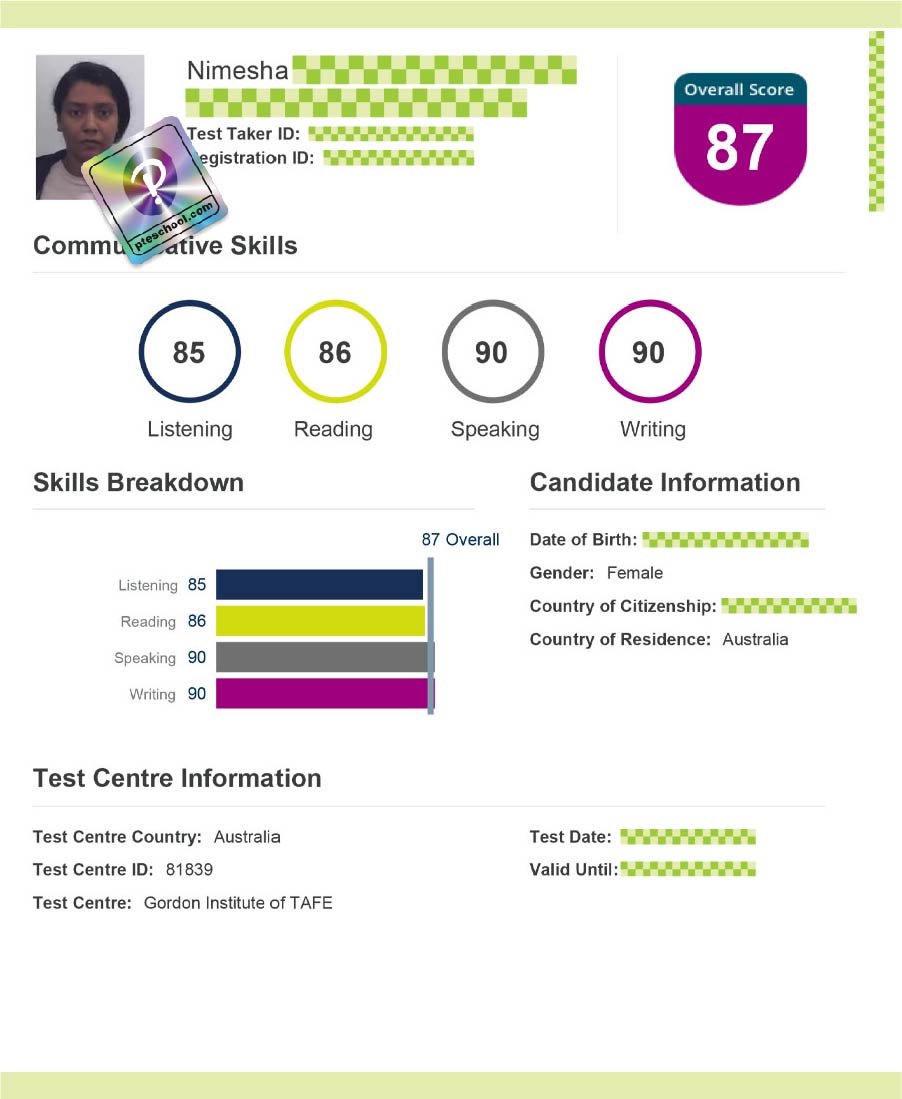
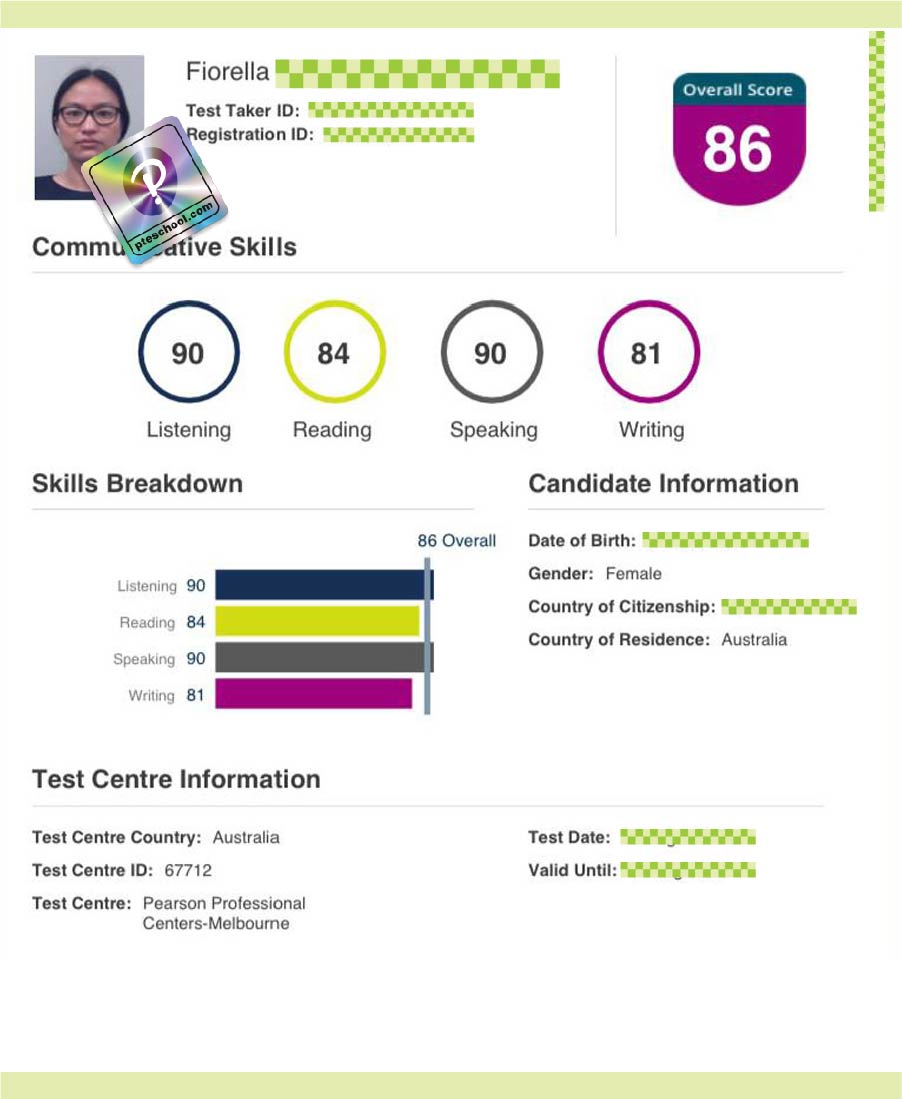
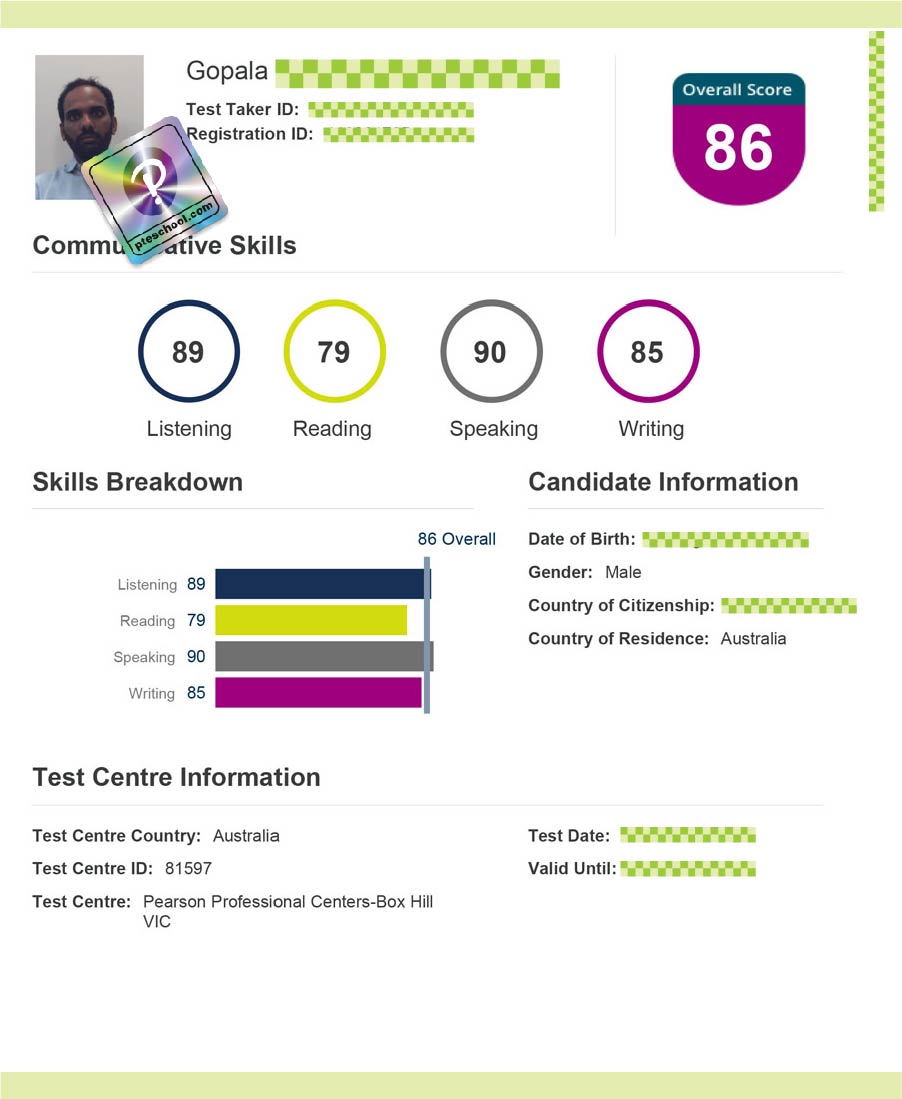
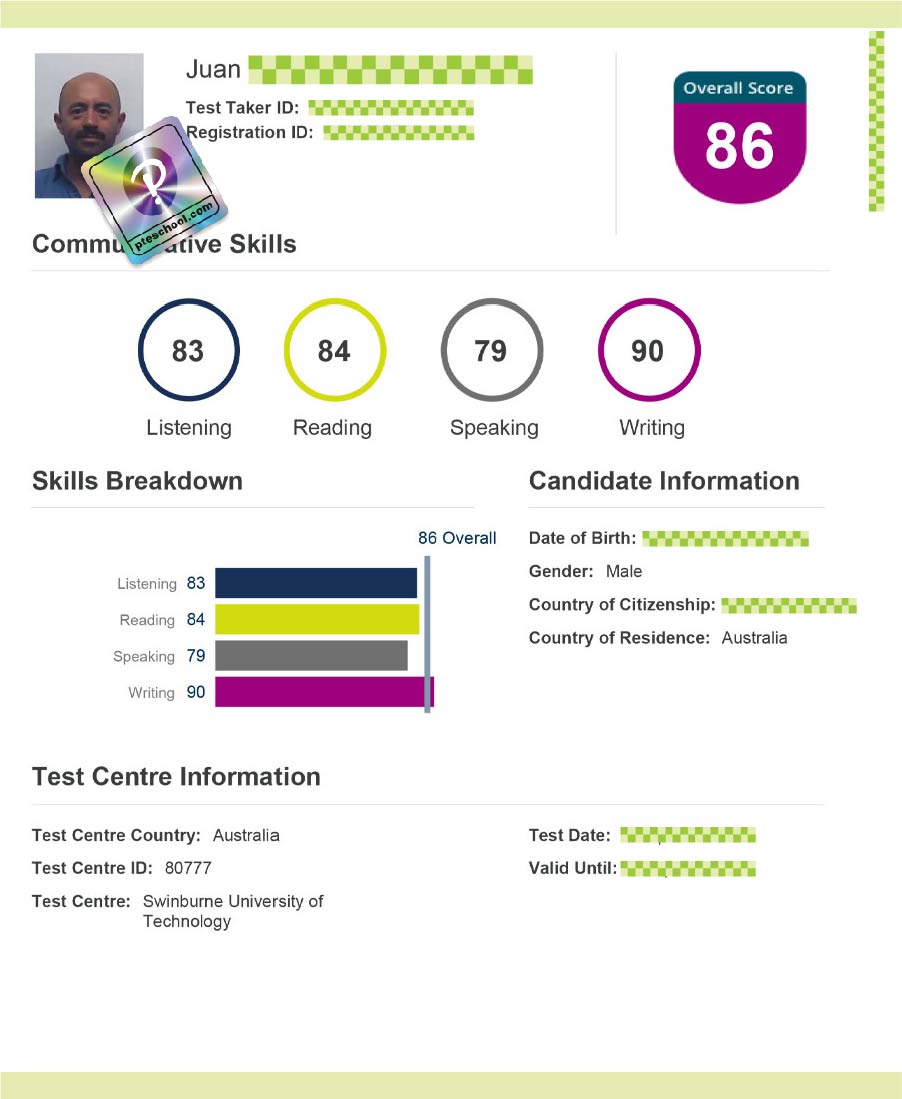
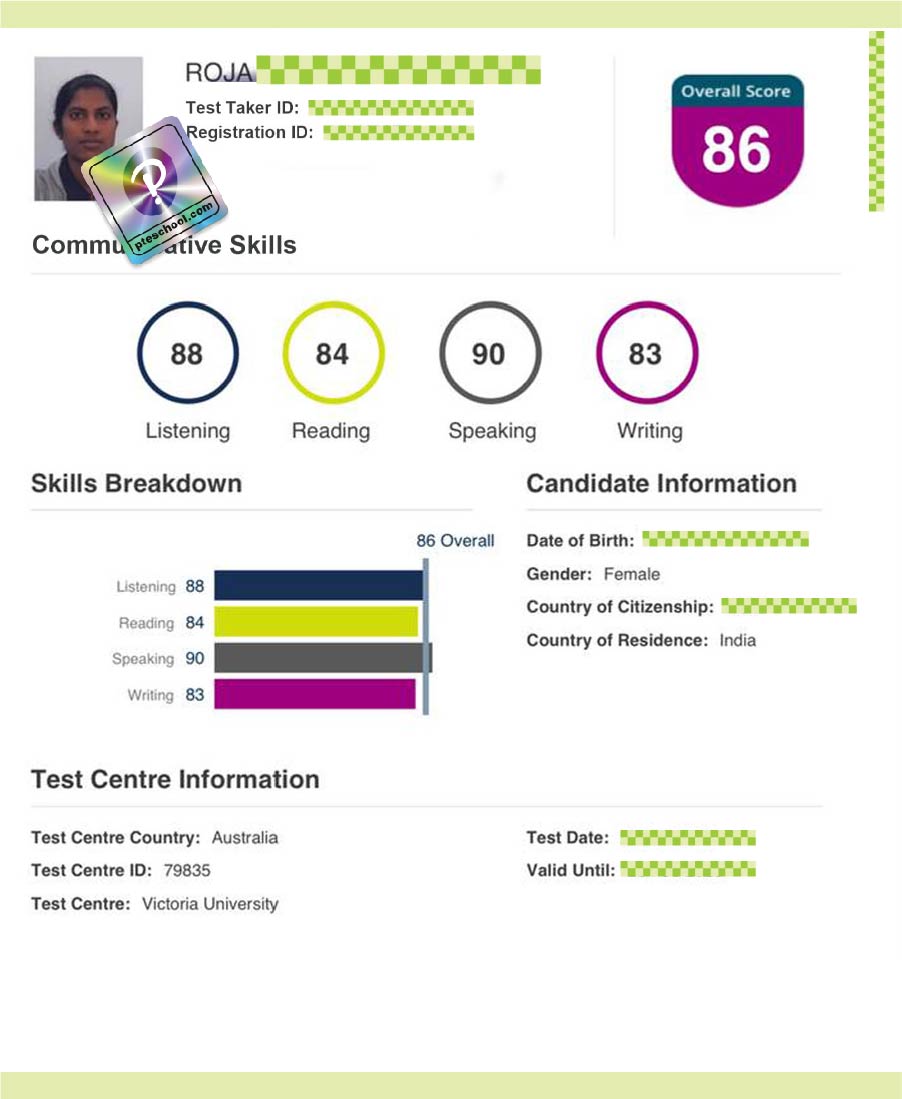
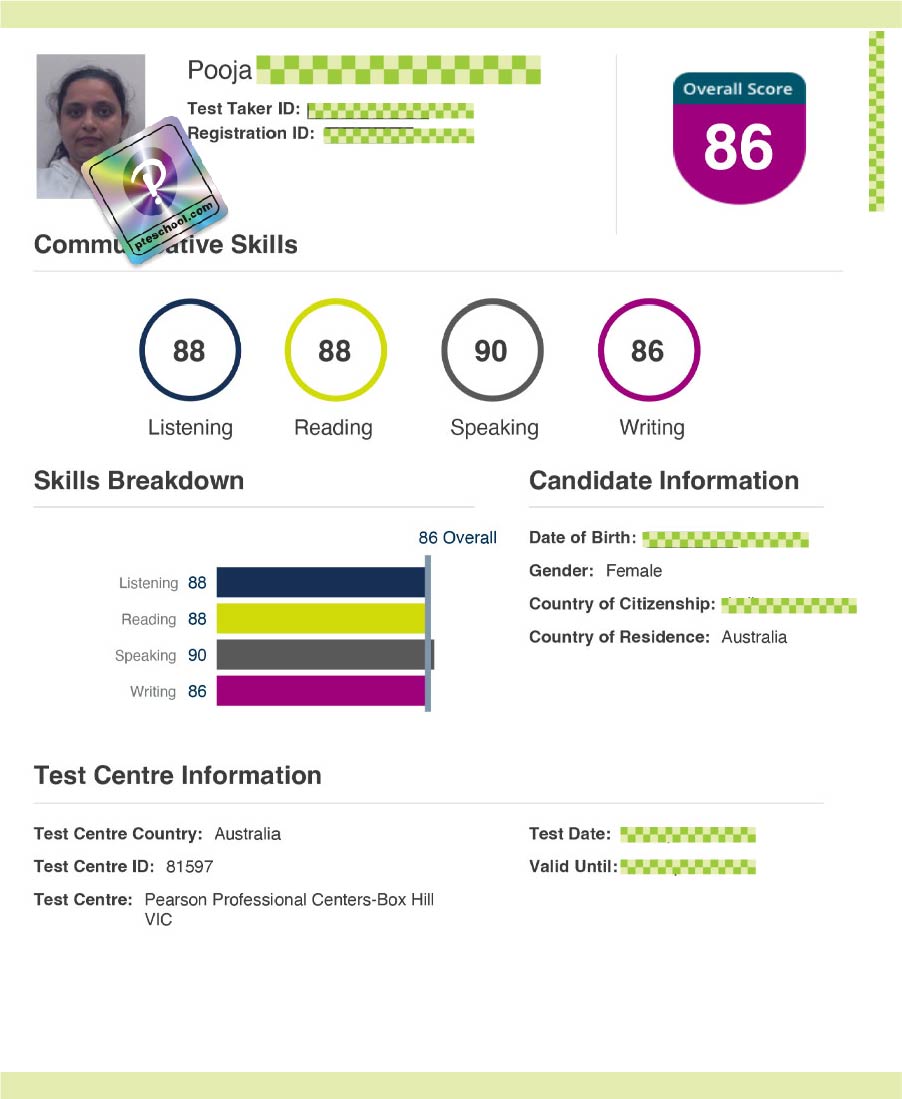
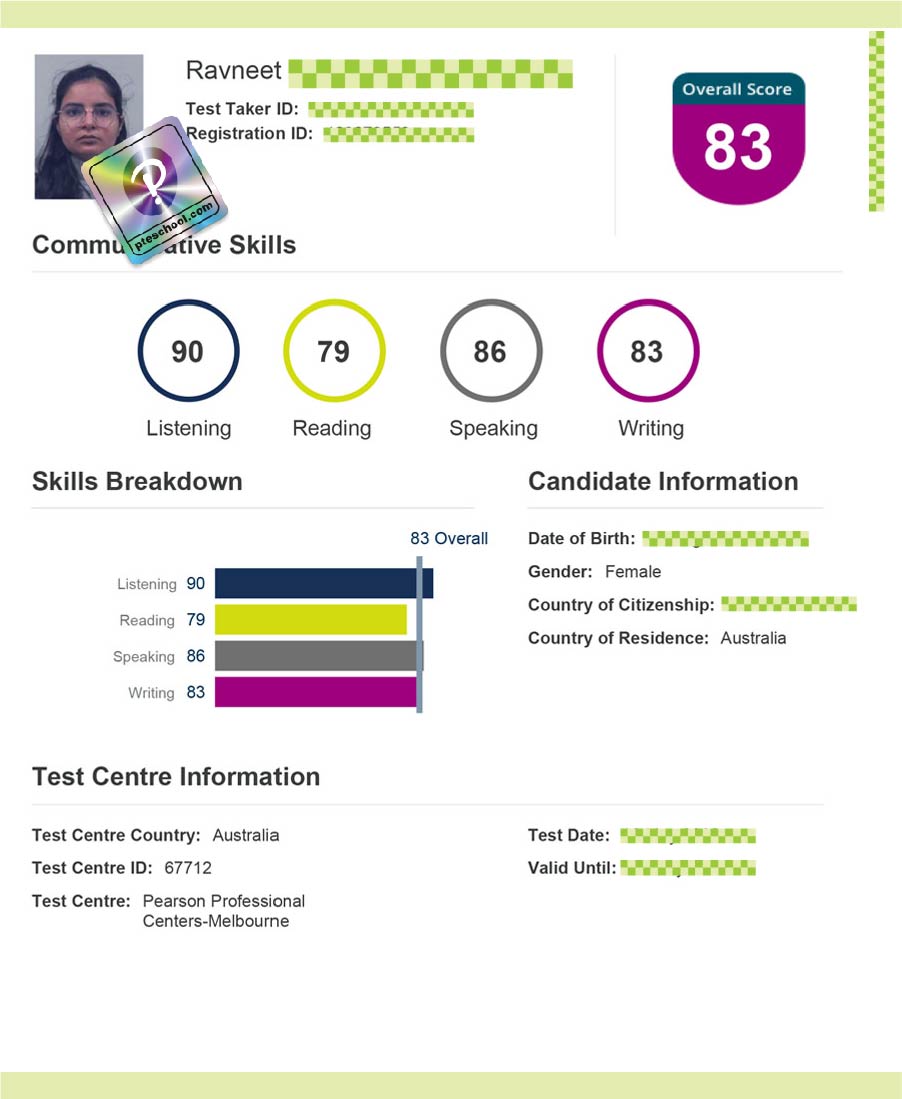
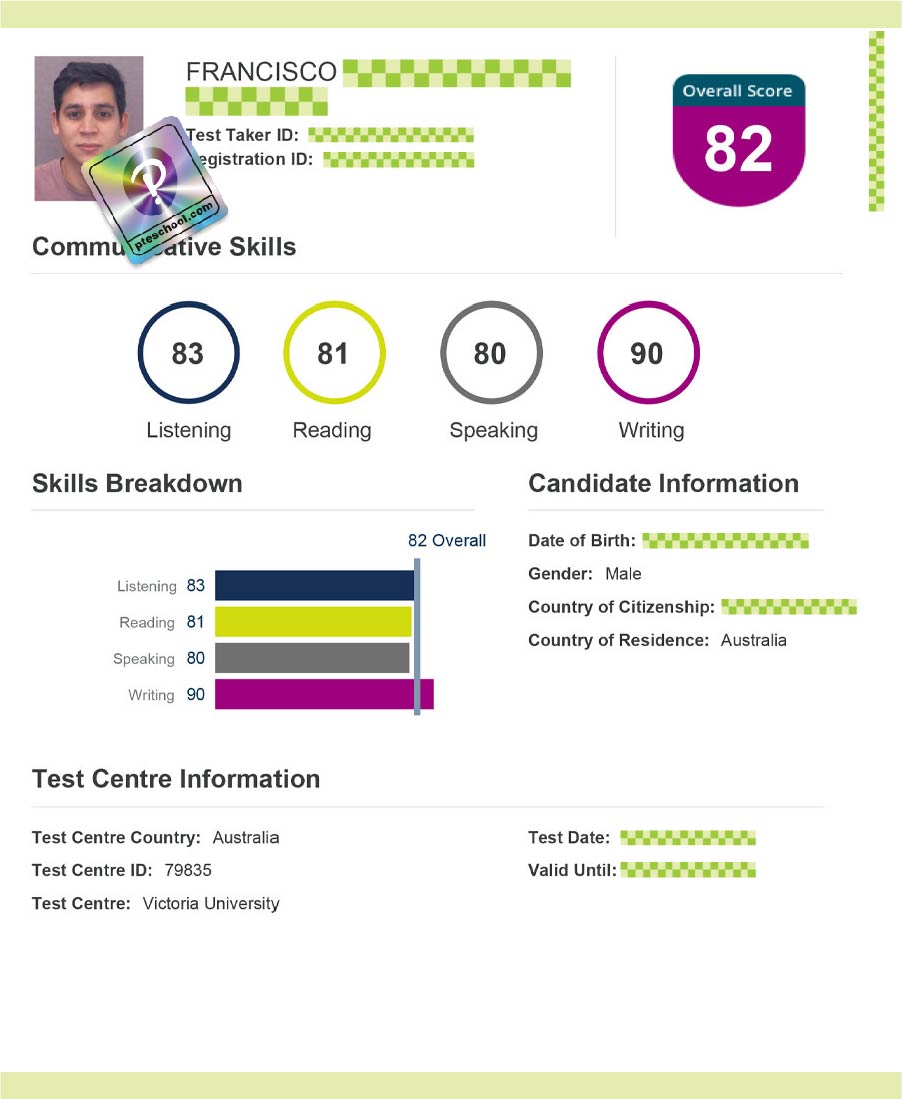
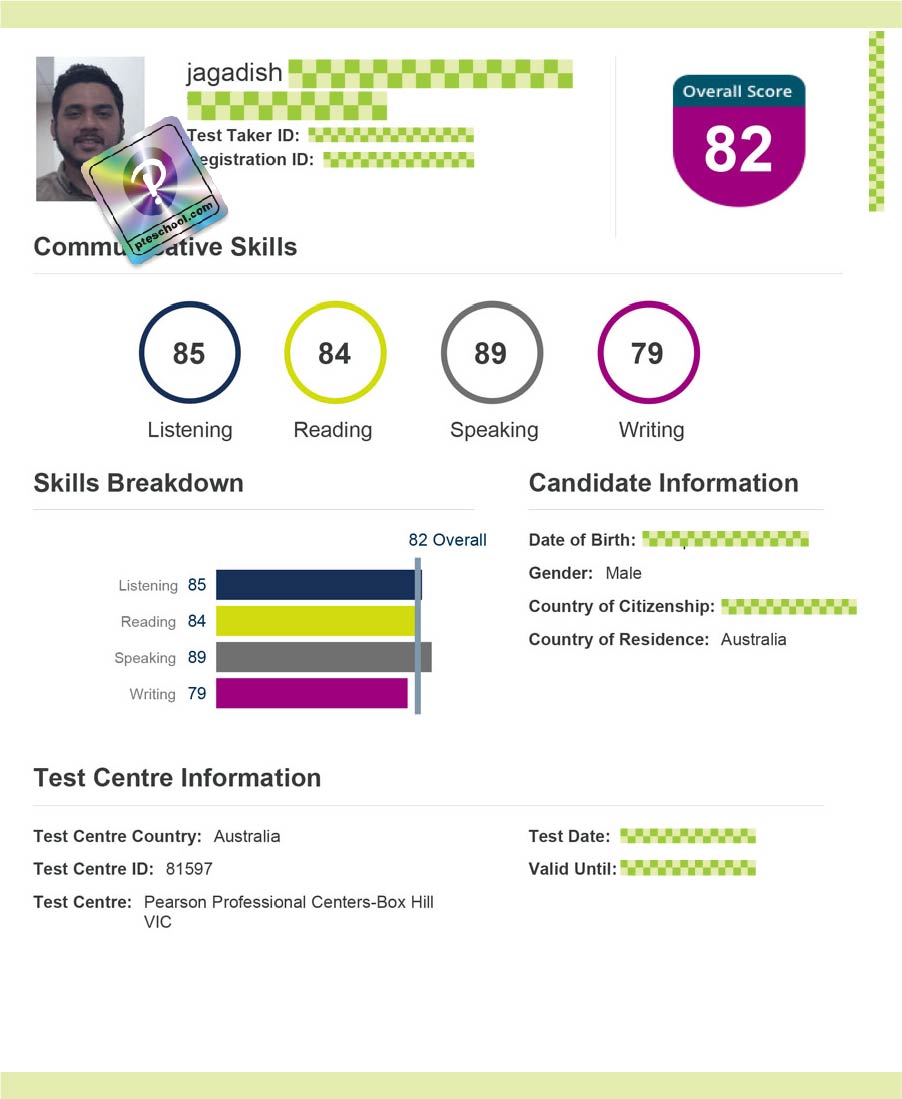
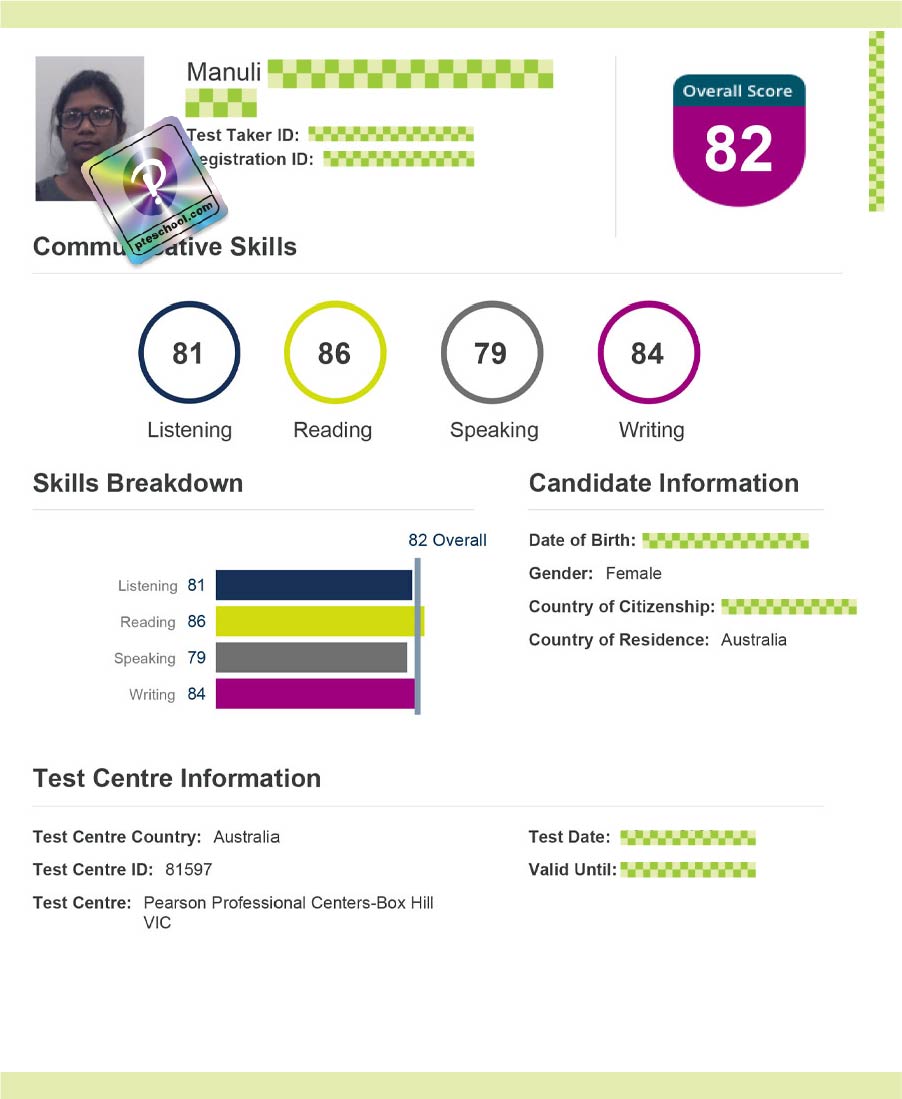
One of the best features of the PTE Academic is the quick turnaround for results. Most test-takers receive their Score Report within 2 to 5 business days. You will receive an email notification when your score is available in your online account.
The Ultimate PTE Exam Day Checklist: Do’s and Don’ts
Here is a quick-reference list to ensure a smooth exam day.
| Do’s | Don’ts |
| DO arrive at least 30 minutes early. | DON’T be late. |
| DO bring your valid, physical passport. | DON’T bring photocopies or digital IDs. |
| DO double-check that your registration name matches your ID exactly. | DON’T bring any personal items into the testing room. |
| DO listen carefully to the Test Administrator’s instructions. | DON’T hesitate to ask questions if you are unsure about a rule. |
| DO test your headset and microphone before starting. | DON’T talk to other candidates in the test centre. |
| DO use the erasable noteboard for planning your answers. | DON’T access your locker until the exam is completely over. |
| DO stay calm and focused. | DON’T panic if you hear other people speaking. |